


Every beginner tries to fix their pour when the problem is the milk. Textured milk that is glossy and paint-like will almost pour itself. Milk with big bubbles will not make a pattern no matter what your hand does.
Step one: the milk
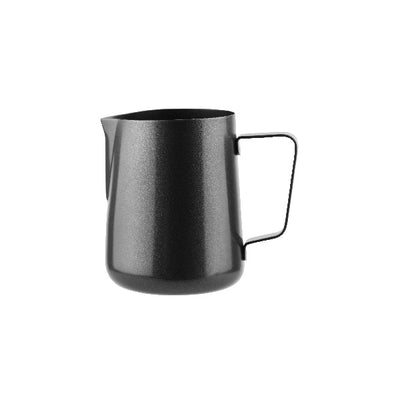
- Cold milk, cold jug, filled to just below the spout. Too much milk and there is no room to stretch it.
- Stretch first. Tip in just under the surface for a few seconds, listening for a soft tearing sound. This is where the foam is made, and it happens in the first few seconds only.
- Then texture. Sink the tip slightly and set the milk spinning in a whirlpool. This breaks big bubbles into microfoam.
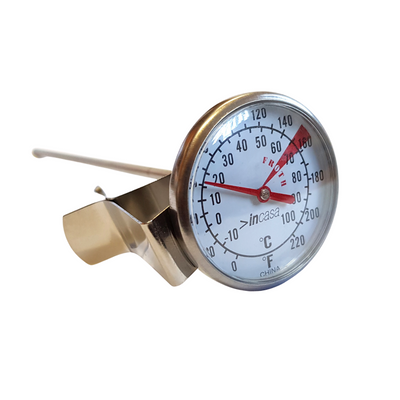
- Stop at 60 to 65C, hot to the back of the hand and no more. Past about 70C the proteins break down, the milk loses sweetness, and the foam turns stiff and unpourable.
- Groom it: tap the jug once on the bench, swirl until it looks like wet paint.
If you do not trust your hand yet, a thermometer removes the guesswork entirely, and is cheaper than the milk you will waste learning.
Step two: the pour
Your espresso needs a good crema surface to pour onto, so pour into a fresh shot rather than one that has sat.
- Start high, from about 10cm, and pour into the centre. A high thin stream sinks under the crema and mixes the milk in without marking the surface. Fill the cup about halfway like this.
- Drop the jug close to the surface and increase the flow. This is the moment the white appears, because the foam is now floating rather than sinking.
- Finish by lifting and cutting a thin stream forward through the pattern.
The three patterns, in order of difficulty
The heart. Pour into the centre close to the surface until a white disc forms, then lift and draw a line straight through it. Everything else builds on this.
The tulip. Pour a small disc, stop, move back slightly, pour a second disc that pushes the first forward, repeat two or three times, then cut through all of them.
The rosetta. Close to the surface, wiggle the jug side to side while moving slowly backwards, then lift and cut forward through the middle. The wiggle makes the leaves; the backward movement stacks them.
What is going wrong
- No white at all: you stayed too high for too long. Get closer, sooner.
- A white blob with no definition: milk too foamy, or poured too fast at the end.
- The pattern fades as you cut through: milk too thin, not enough foam stretched in.
- Bubbles on the surface: you stretched too long, or did not groom the jug.
Full milk technique is in how to froth milk like a barista. Plant milks behave differently, see barista oat, almond and soy compared.


